Content
To use a motorcycle lift safely, confirm the lift’s rated capacity exceeds your bike’s weight, roll the bike onto the platform and center it, secure the front wheel in the chock and strap the bike down at four points, raise it to working height, and engage the mechanical safety lock before you put a wrench on anything. To come down, raise slightly, release the lock, and lower slowly and evenly.
Here is the sequence in order:
Most accidents happen before the bike leaves the ground, because the lift was too small, the floor was uneven, or a hydraulic fitting was already leaking. A two-minute inspection prevents most of them.
Common lifts are rated at about 1,000 lb or 1,500 lb. Remember that the capacity covers the bike with fuel, fluids, luggage, and any accessories, not just the dry weight in the brochure. The weights below are approximate and vary by model year and equipment, so check your owner’s manual.
| Bike type | Typical wet weight | Suggested lift rating |
|---|---|---|
| Small sport or minibike | 200–350 lb | 1,000 lb |
| Middleweight standard or cruiser | 400–600 lb | 1,000 lb |
| Large cruiser or adventure bike | 600–750 lb | 1,500 lb |
| Full-dress tourer | 800–900+ lb | 1,500 lb or higher |
The loading and raising steps are similar for all lifts, but the controls and safety mechanisms differ. Knowing how yours works tells you where the safety lock is and how it releases.
| Lift type | How it raises | Best for | Watch out for |
|---|---|---|---|
| Hydraulic (foot or hand pump) | Pumping builds oil pressure | Home garages, no power needed | Slow lowering valve, oil leaks |
| Air-powered | Compressed air via a control valve | Fast, frequent use | Needs a compressor, worn hoses |
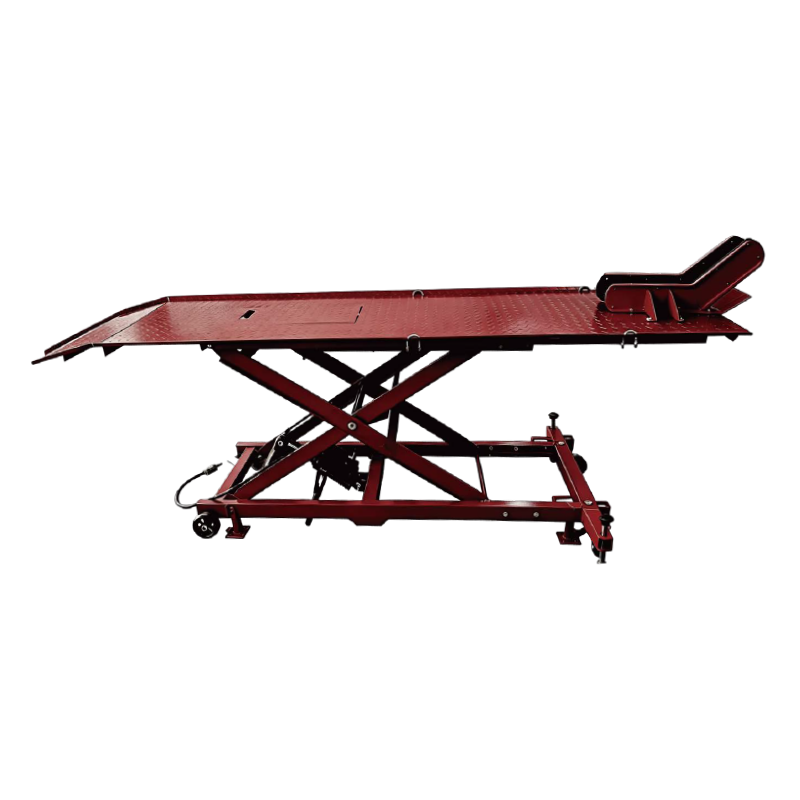
| Electric-hydraulic | Motor-driven pump | Shops and heavy tourers | Requires a power outlet |
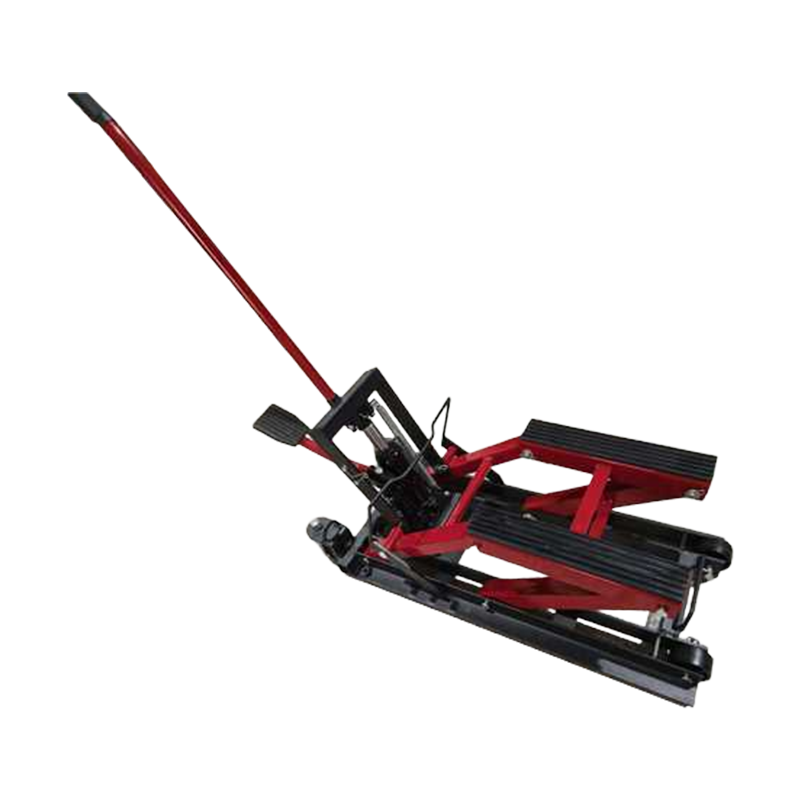
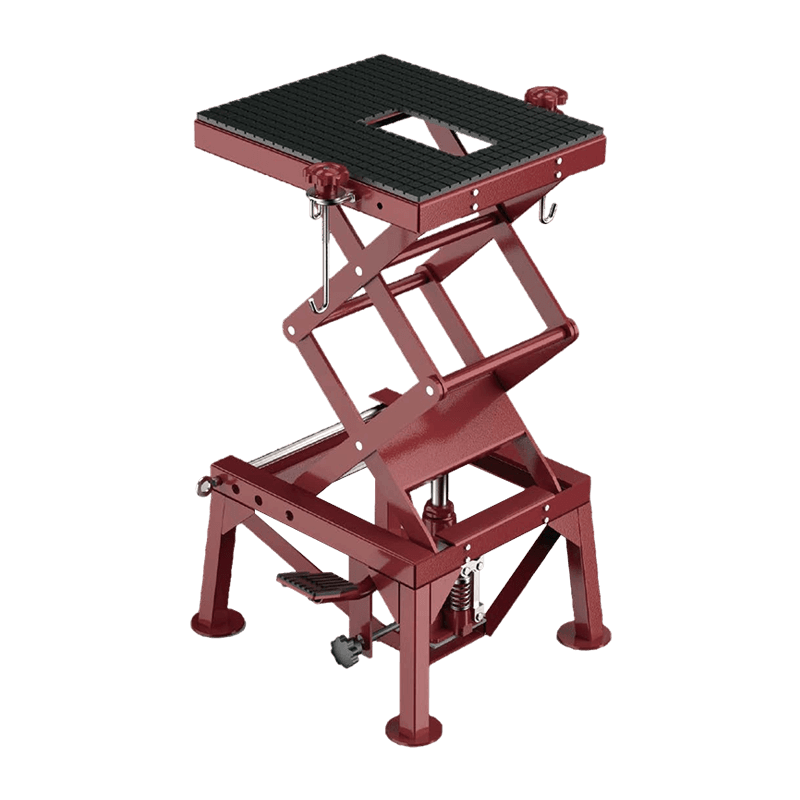
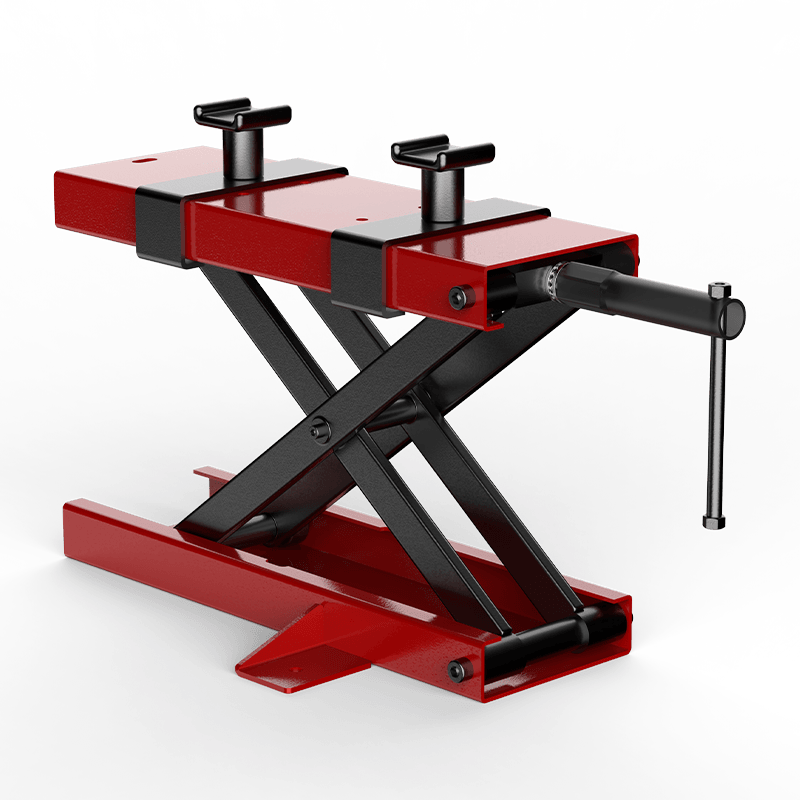
| Center-stand or wheel-cradle jack | Scissor jack under the frame | Quick, low-height jobs | Smaller platform, less stable |
Whichever type you use, find the mechanical safety lock and learn how it engages. Hydraulic pressure is not a safety device, and seals can fail. The lock is what holds the bike up.
Loading is the step where bikes get dropped, so go slowly and, if possible, have a second person help, especially with bikes over 500 lb.
Lower the platform completely and attach the ramp so it sits flush against the platform edge. If the ramp has a locking pin or latch, make sure it is engaged.
Approach the ramp squarely, with the bike upright and the engine off. Walk it up with the clutch pulled in for balance, or ride it up slowly at idle only if the manufacturer allows that for your lift. Pushing it up is safer than riding it, because one throttle mistake on a narrow platform can send the bike over the end.
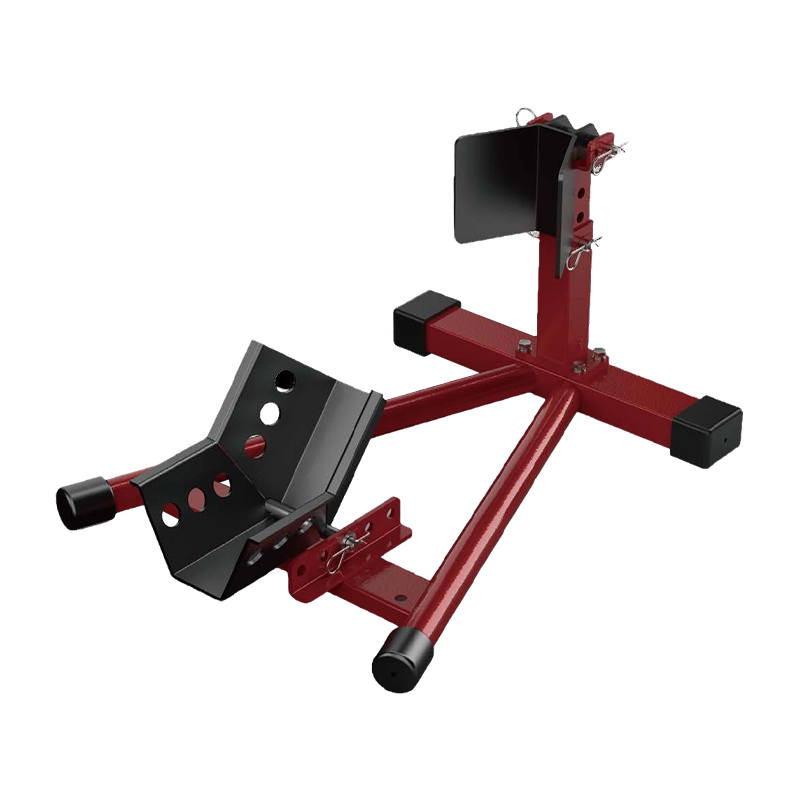
Roll the front wheel forward until it is fully seated in the chock, then lock the chock if it has a clamp. Put the bike in first gear if it has a manual transmission, or in Park if it has one.
Use ratchet straps with a working load limit comfortably above the bike’s weight. Attach them to solid points on the frame, triple clamps, or handlebar mounts, not to plastic fairings, turn signals, or mirrors.
Clear the area of tools, cords, and people. Keep your feet out from under the platform and your hands away from the scissor arms, which can pinch severely.
Raise the bike a few inches first, then stop and watch the straps and wheel chock. If anything shifts, lower it and fix the problem. Once it looks stable, continue to your working height. Many lifts top out at around 28–32 inches, which is high enough to work on the engine, chain, or brakes while seated on a stool.
When you reach the height you want, engage the safety lock. On a ladder-style lock, lower the platform slightly until the pawl drops into a rung and takes the load. Listen for the click and look at it to confirm. Then give the bike a firm push on the side. A properly locked bike should not move or bounce.
Taking off the front wheel, exhaust, or heavy bodywork changes the balance of the bike. If you remove something heavy, add a strap or a support stand before continuing.
Lowering is where people rush. Take your time and follow this order:
A lift is a piece of load-bearing equipment, and a little routine care extends its life and keeps it safe.
| Task | How often |
|---|---|
| Visual check for leaks, cracks, and bent parts | Before every use |
| Test the safety lock engagement | Before every use |
| Lubricate pivot points and moving joints | Every 3 months |
| Check hydraulic fluid level or air fittings | Every 6 months |
| Inspect and replace worn straps | Every year, or at the first sign of fraying |
Follow your manufacturer’s schedule if it differs from the one above. Stop using the lift immediately if you find a crack, a bent arm, or a leak that does not stop after tightening a fitting.
Short answer A hydraulic coil spring compressor is the better tool whenever you remove struts or coil springs regularly, work on stiff springs, or want to control exactly how far the spring is compre...
READ MORETo adapt to the diversified and personalized development trends of the global maintenance tool market, Jiaxing Yueyang Machinery & Electrical Technology Co., Ltd. takes customized production as i...
READ MOREWith superior geographical location, mature export procedures and efficient customer service system, Jiaxing Yueyang Machinery & Electrical Technology Co., Ltd. keeps expanding its global market ...
READ MOREJiaxing Yueyang Machinery & Electrical Technology Co.,Ltd. is pleased to announce that we will take part in Automechanika Shanghai, the leading automotive aftermarket exhibition in China. The show...
READ MORE Wholesale Hydraulic Shop Equipment Manufacturers

 English
 русский
 Français
 Español
 Deutsch